
Connecting a Custom Domain (CNAME & A Records Setup)
Connect your branded custom domain (e.g., yourbrand.com or store.yourbrand.com) with automated Cloudflare edge SSL certification and global CDN routing.
- Connect your custom root domain (yourbrand.com) or subdomain (shop.yourbrand.com) in minutes.
- Add CNAME records pointing to customers.conversora.io in your domain registrar (GoDaddy, Namecheap, Cloudflare).
- Benefit from automated, zero-configuration Cloudflare enterprise edge SSL certificates.
- Verify DNS propagation in real time with Conversora's live status checker.
Before configuring this feature, confirm that your store meets the following requirements:
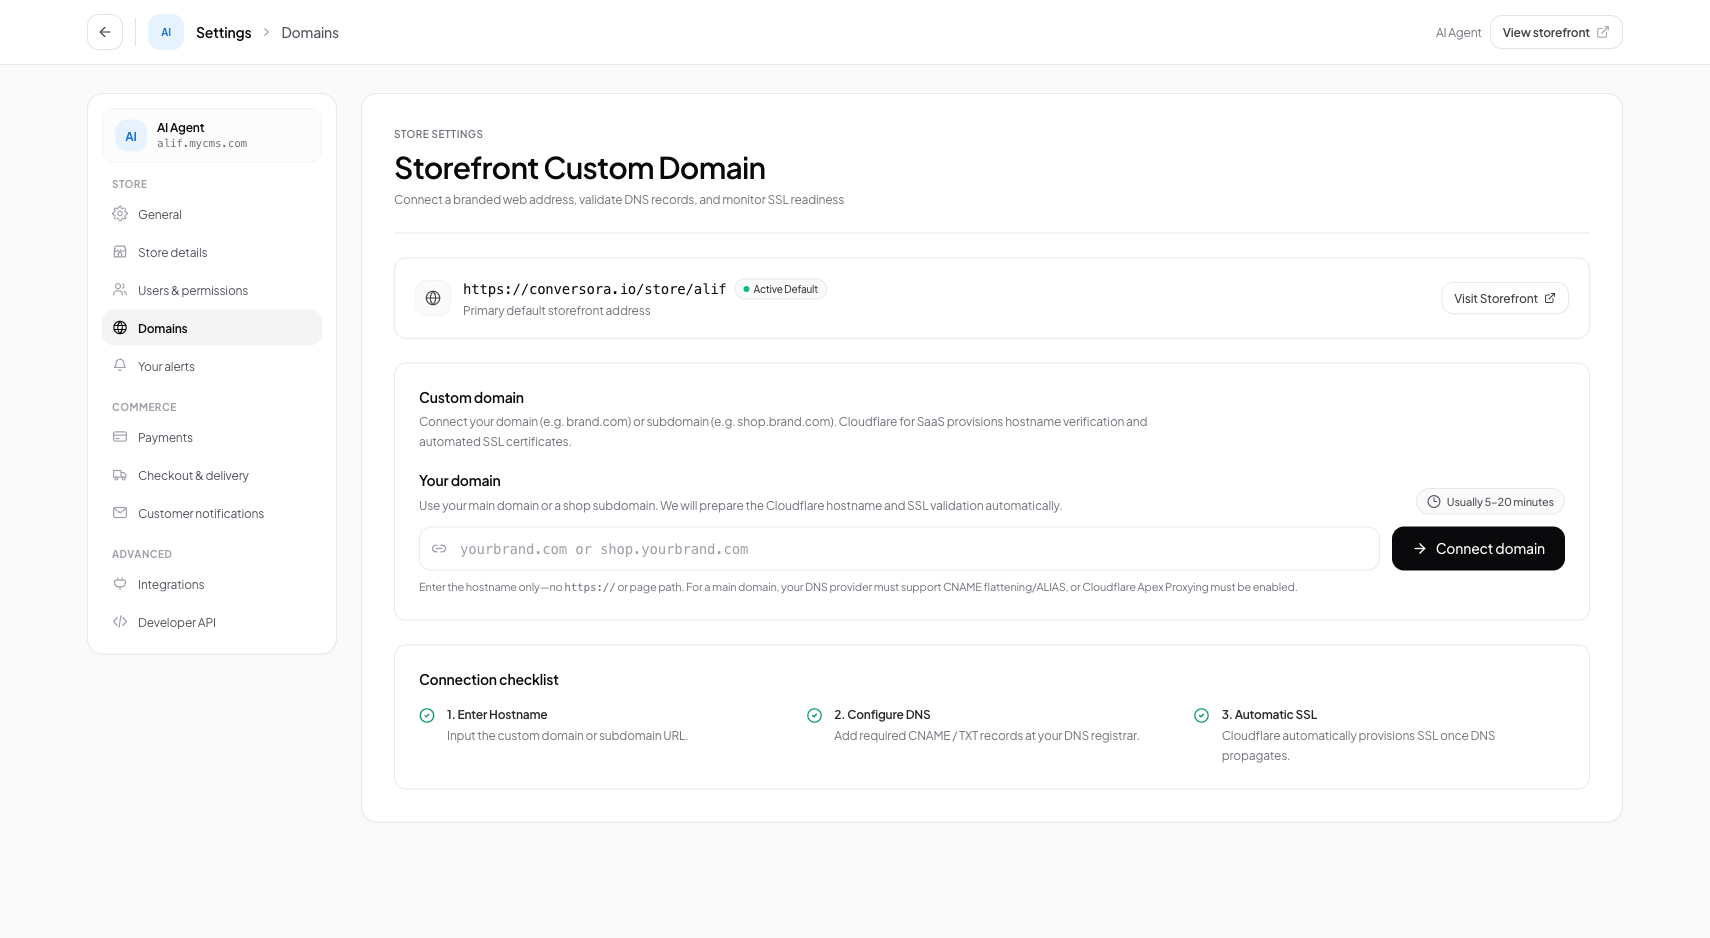
Interface view for this workflow.
1. Adding Your Domain in Conversora Admin
Start by specifying the exact domain or subdomain you wish to connect.
We recommend connecting both your root domain (yourbrand.com) and the 'www' subdomain (www.yourbrand.com) to ensure shoppers reach your store regardless of what they type.
Navigate to Domains Workspace
From the admin menu, select 'Settings' and click 'Domains'.
Enter Domain Name
Click 'Connect Domain', enter your domain (e.g. shop.aurawear.com), and click 'Next'.
Copy DNS Target Records
Conversora displays the exact CNAME and TXT verification records to add to your DNS provider.
2. Adding DNS Records in Your Domain Registrar
Log in to your domain registrar (where you purchased your domain, such as Namecheap, GoDaddy, or Cloudflare) and open the DNS Management panel.
Add a CNAME record with Host: 'shop' (or 'www') and Target: 'customers.conversora.io'. Leave TTL set to Automatic or 1 Hour.
Open DNS Management
Sign in to your domain registrar and locate the DNS Records section for your domain.
Add CNAME Record
Type: CNAME | Name: shop (or @) | Value: customers.conversora.io | TTL: Automatic.
Click 'Verify Connection' in Conversora
Return to Conversora and click 'Verify Connection'. The status changes to 'Active' once DNS propagates.
If using Cloudflare as your external DNS provider, ensure the proxy toggle (orange cloud) is set to 'DNS Only' (gray cloud) for the CNAME record.
Practical Business Scenarios
How leading merchants implement this functionality in daily operations:
Troubleshooting & Common Issues
Diagnose and resolve frequent failure points quickly:
Frequently Asked Questions
How long does domain propagation and SSL certificate issuance take?
DNS propagation typically takes 5 to 30 minutes, though some regional registrars may take up to 2 hours. Cloudflare issues the SSL certificate automatically within 10 minutes of DNS verification.