Storefront & Website BuilderPopularBeginner

Visual No-Code Storefront Builder: Customizing Your Website

Design and customize your high-converting online storefront using Conversora's drag-and-drop visual layout editor with live mobile and desktop previews.

6 min readUpdated 2026-09-18
In This Guide
  • Customize hero banners, product grids, promotional carousels, and customer review sections without writing code.
  • Rearrange sections on your homepage using intuitive drag-and-drop controls.
  • Switch between desktop, tablet, and mobile preview viewports in real time.
  • Publish changes instantly to your edge-cached live storefront with zero downtime.
Prerequisites

Before configuring this feature, confirm that your store meets the following requirements:
Active Storefront:Your store must be initialized with at least one active product to populate product grid sections.
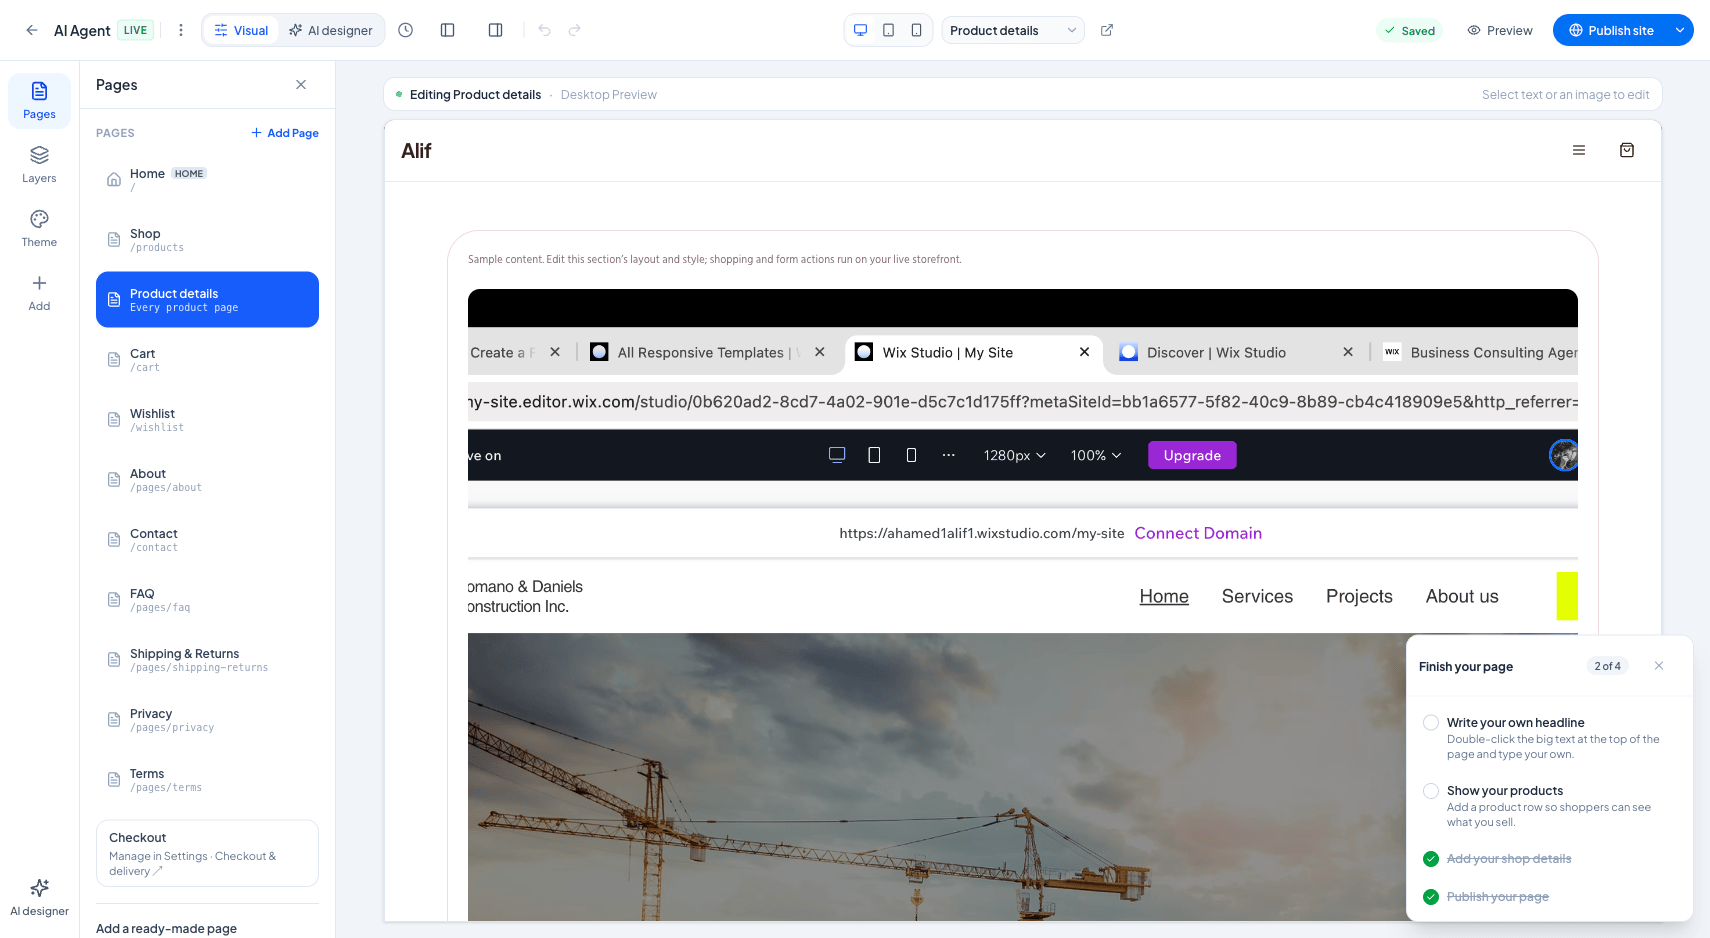
conversora.io/admin/storefront-builder
Visual No-Code Storefront Builder: Customizing Your Website
Click to enlarge

Interface view for this workflow.

1. Adding & Reordering Storefront Sections

Your homepage is constructed from modular sections. You can add new sections, hide sections temporarily during off-seasons, and drag sections up or down to adjust your page layout.

To maximize sales conversion, place your most compelling promotional offer or best-selling product collection near the top of the page, directly beneath your main hero banner.

1

Open Visual Editor

From the admin menu, navigate to 'Website Builder' and click 'Visual Editor'.

Path:Admin Sidebar → Website Builder → Visual Editor
2

Add a Section

Click '+ Add Section' in the left sidebar and choose from the block library (e.g., 'Featured Collection Grid').

Path:Editor Sidebar → Add Section Modal → Select Block
3

Drag to Reorder

Click and hold the drag handle next to any section in the sidebar to move it up or down in the page order.

Path:Editor Sidebar → Drag Handle (⋮⋮) → Reposition
4

Publish Changes

Click the blue 'Save & Publish' button in the upper right. Changes go live across the globe instantly.

Path:Editor Header → Save & Publish

2. Customizing Hero Banners & Call-to-Action Buttons

The Hero Banner is the first visual element visitors see when landing on your store. High-impact photography combined with clear headline copy and a prominent Call-to-Action (CTA) button drives immediate engagement.

You can upload high-resolution desktop and mobile-specific banner images, enter compelling headline text, and link the button directly to any category, product, or custom landing page.

1

Select Hero Section

In the editor canvas or sidebar list, click on the 'Hero Banner' section to open its settings drawer.

Path:Visual Canvas → Click Hero Banner
2

Upload Banner Graphics

Upload your promotional image (recommended: 1920x800px for desktop, 800x800px for mobile).

Path:Banner Settings Drawer → Image Uploader
3

Set Headline & Button Link

Enter your promotional headline and specify your button text (e.g. 'Shop Summer Collection') and target URL.

Path:Banner Settings Drawer → Content & CTA Link

Practical Business Scenarios

How leading merchants implement this functionality in daily operations:

Seasonal Festival Campaign Launch
Situation: A merchant wants to update their homepage for Eid or Black Friday with a dark promotional banner and a 3-day countdown timer.
Best practice: Open the Visual Editor, add an Announcement Bar and Countdown Timer section, upload festive hero graphics, and link the CTA button to a curated 'Sale' collection.

Troubleshooting & Common Issues

Diagnose and resolve frequent failure points quickly:

Problem: Banner image appears blurry or stretched on mobile screens
Why this occurs: A single wide desktop landscape image was uploaded without providing a dedicated square or vertical mobile image.
Resolution: In the Hero Banner settings, use the 'Mobile Image Override' option to upload a square (1:1) image specifically optimized for mobile phone viewports.

Frequently Asked Questions

Does changing my homepage layout cause downtime for visitors?

No. Changes are drafted safely in the editor. Your live storefront continues serving the previous version until you click 'Publish', which swaps versions in under 50 milliseconds with zero downtime.