
Quickstart Guide: Launch Your AI-Powered Store in 5 Minutes
A fast-track onboarding guide to configure your store brand, add your first inventory items, connect Meta social channels, and enable your autonomous AI sales employee.
- Create your merchant account and choose your store name, subdomain slug, and operating currency.
- Upload catalog products with multi-resolution photos, inventory counts, and price points.
- Authorize Instagram and Facebook Messenger channels using Facebook Login for Business.
- Activate the autonomous AI employee in Autopilot mode to handle inquiries and take orders automatically.
Before configuring this feature, confirm that your store meets the following requirements:
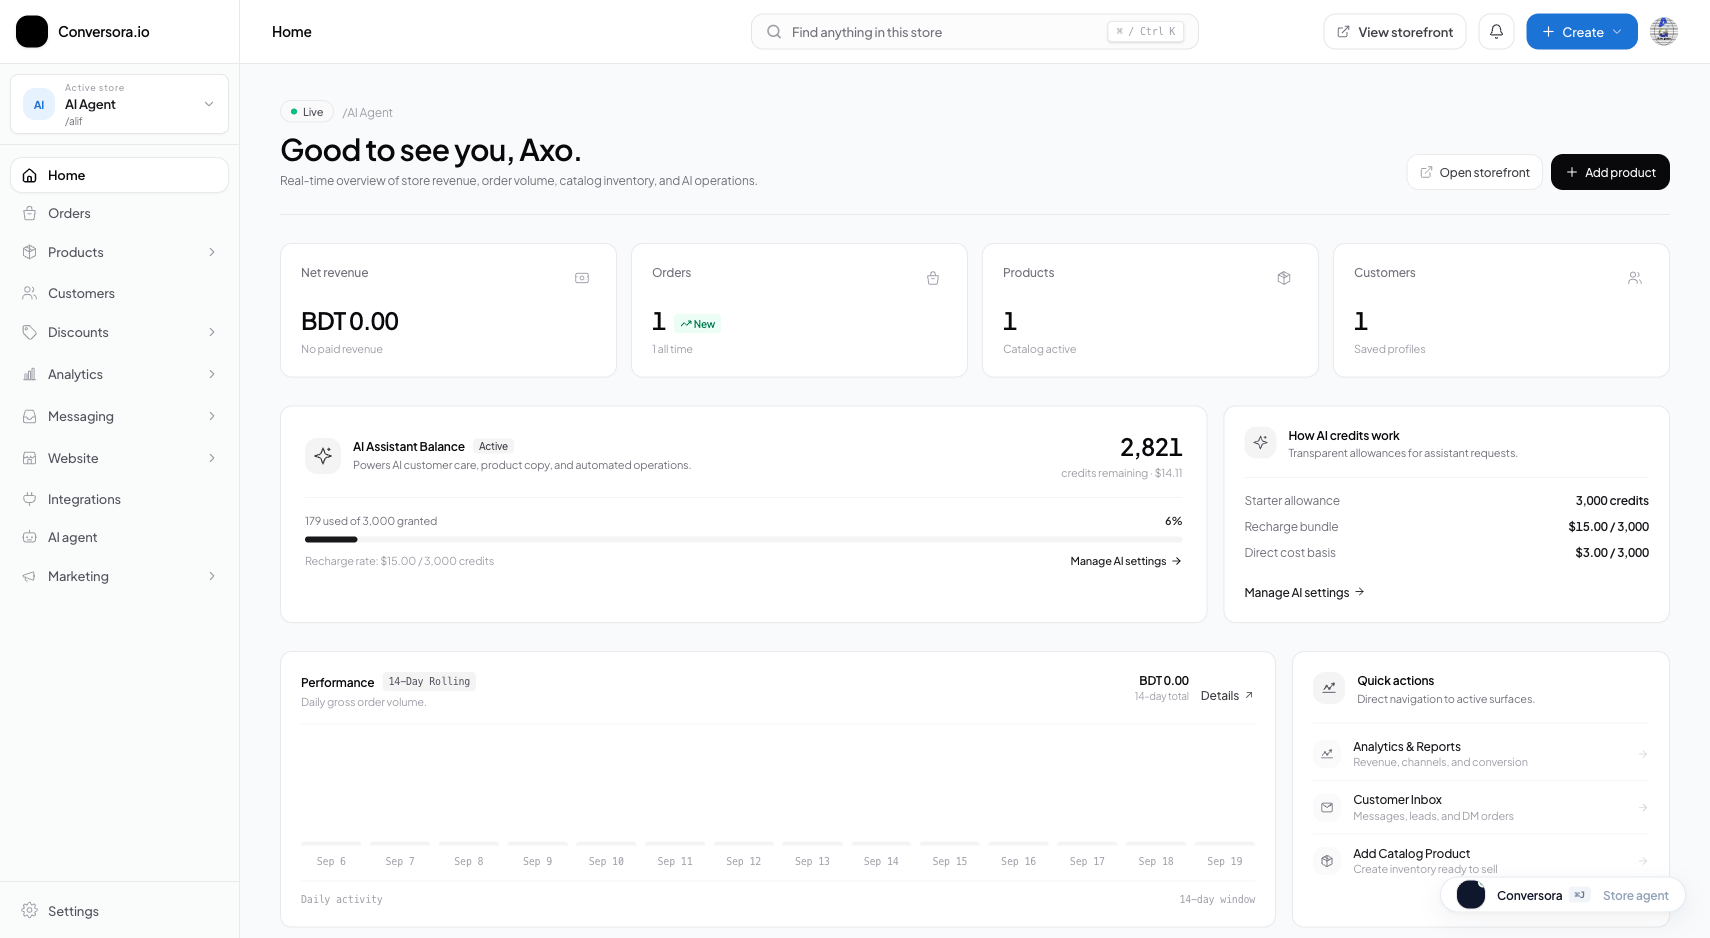
Interface view for this workflow.
1. Create Your Merchant Account & Storefront Identity
Your store identity defines how customers recognize your brand across your web storefront, invoice receipts, and automated chat messages. During this step, you will reserve your unique subdomain slug and establish your primary currency.
Conversora enforces strict URL uniqueness for store slugs. Your chosen slug forms the base URL for your public storefront (e.g., conversora.io/storefront/aurawear) and also serves as the default identifier if you later connect custom root domains. Take care when choosing your operating currency: all product prices, checkout totals, shipping rates, and financial reports will be calculated and displayed in this denomination.
Access Onboarding Console
Log in to Conversora and navigate to the business creation portal.
Specify Store Parameters
Enter your Brand Display Name, choose an alphanumeric URL slug (lowercase letters, numbers, and hyphens only), and select your primary operating currency.
Submit & Initialize Store
Click 'Create Store'. The platform initializes your database partition, creates your default catalog settings, and redirects you directly to your merchant management console.
Keep your store slug short and memorable. If your exact business name is already claimed, add an official qualifier such as 'brand-bd' or 'brand-official'.
2. Add Your First Product & Stock Inventory
With your store provisioned, your next step is publishing items for sale. Conversora supports both single-item products and multi-option variant matrices (such as varying combinations of Size, Color, and Material).
Every product requires a descriptive title, regular retail price, inventory quantity, and at least one high-resolution product photograph. When you set inventory quantities, Conversora's stock control engine monitors inventory in real time. If a product reaches zero stock, the storefront automatically displays an 'Out of Stock' badge and disables checkout to protect you from overselling.
Open Products Workspace
From the admin sidebar, click on 'Products' and select 'New Product'.
Input Title, Description & Pricing
Provide a clear product name, detailed description explaining materials or dimensions, and set your regular selling price and optional compare-at price (for sale discounts).
Upload Photos & Set Inventory
Drag and drop high-quality product images into the media uploader and input your available on-hand stock quantity.
Publish to Storefront
Set the product status to 'Active' and click 'Save Product'. The item immediately appears on your hosted storefront and is indexed into your AI employee's memory.
Writing rich, descriptive paragraphs in your product description helps your AI employee answer specific shopper questions about fabric composition, wash care, or dimensions accurately.
4. Activate Your Autonomous AI Store Employee
The final step is turning on your AI sales employee (Aura). Once enabled, the AI monitors your omnichannel inbox and immediately greets shoppers who send messages on Instagram, Facebook, or your web storefront.
The AI uses your published catalog and store settings to guide customers through purchase decisions. It can answer questions about product availability, provide direct product links, apply valid discount codes, and collect customer delivery addresses to create finalized draft orders. If a conversation requires nuanced human attention, the AI automatically escalates the thread to your human staff queue.
Navigate to AI Employee Settings
Select 'AI Employee' from the admin navigation menu.
Toggle Operating Mode to Autopilot
Switch the master operating toggle from 'Manual Review' to 'Autopilot Mode'. In Autopilot, Aura responds immediately without requiring human confirmation.
Send a Test Message
Send a test direct message from a secondary Instagram or Facebook account asking 'What products do you have?'. Confirm that the AI replies promptly with your active catalog items.
Practical Business Scenarios
How leading merchants implement this functionality in daily operations:
Troubleshooting & Common Issues
Diagnose and resolve frequent failure points quickly:
Frequently Asked Questions
How long does it take for my store to become visible on the internet?
Your store becomes accessible worldwide immediately upon completing step 1. Conversora’s edge routing on Cloudflare Workers provisions the URL in real time with zero propagation delay.
Can I use my own custom domain (e.g. www.mybrand.com) instead of the conversora.io subdomain?
Yes. Once you complete this quickstart guide, you can navigate to Admin > Domains and link any custom domain or subdomain you own. Conversora automatically provisions and maintains enterprise SSL certificates for your domain.
What happens if I make a mistake in my store currency during setup?
You can update your operating currency at any time under Admin > Settings > General. However, existing product prices and past order records will retain their numerical values, so we recommend selecting the correct currency before creating numerous products.
Does the AI employee reply to all messages automatically from day one?
Only if you toggle the AI mode to 'Autopilot'. If you leave the AI in 'Co-Pilot / Manual Review' mode, it will draft recommended responses for your staff to approve in the inbox before sending, giving you complete oversight until you feel comfortable going full autopilot.